Content Highlights
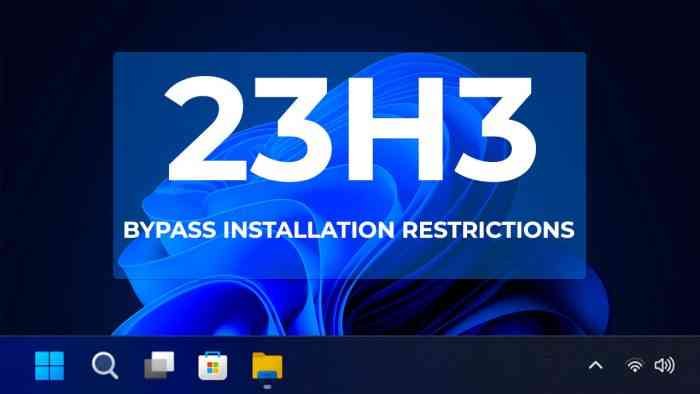
If you’ve been itching to install Windows 11 23H2 (2023 Update) on your computer but are facing installation restrictions due to hardware limitations, you’re in the right place. In this comprehensive guide, we’ll show you how to create a bootable USB media that bypasses these restrictions and allows you to enjoy the latest features of Windows 11. Follow the steps below to create your Windows 11 23H2 bootable USB.
Getting Started with Rufus
You’ll need a handy tool called Rufus to embark on this journey. It’s a lightweight utility that simplifies the process of creating bootable USB drives. Here’s how to get started:
- Visit the Rufus Website: Begin by opening your web browser and navigating to the Rufus website.
- Download the Latest Version: Look for the link to download the latest version of Rufus and click on it. Ensure you’re getting the most up-to-date version for a smooth experience.
- Launch Rufus: Once the download is complete, locate the downloaded file, typically named “rufus.4.xx.exe,” and double-click it to launch the Rufus tool.
Configuring Rufus for Windows 11 23H2
Now that Rufus is up and running let’s configure it to create your Windows 11 23H2 bootable USB. Follow these steps carefully:
- Select Your USB Drive: You’ll see a drop-down menu under the “Device” section. Use it to select the flash drive you want to turn into a Windows 11 23H2 bootable USB media.
- Choose Your Windows 11 23H2 ISO: Click the “Select” button and choose the Windows 11 23H2 ISO file on your computer.
- Adjust Image Settings: In the “Image option” setting, select “Standard Windows Partition.”
- Select Partition Scheme: Opt for the GPT option in the “Partition scheme” setting.
- Target System: Choose “UEFI (non-CSM)” in the “Target system” setting.
- Volume Label: Provide a descriptive name for your Windows 11 23H2 bootable USB flash drive under the “Volume label” section.
- File System and Cluster Size: Stick with the default settings for the “File system” and “Cluster size” options.
- Quick Format: Check the “Quick format” option for faster processing.
- Create Extended Label and Icon Files: Check the “Create extended label and icon files” option.
Bypassing Hardware Requirements
Now comes the exciting part – bypassing the hardware requirements that may be holding you back from installing Windows 11 23H2:
- Start the Process: Click the “Start” button in Rufus to create your bootable USB.
- Unlock RAM, Secure Boot, and TPM 2.0 Restrictions: To install Windows 11 23H2 on unsupported hardware, check the “Remove requirement for 4GB RAM, Secure Boot, and TPM 2.0” option.
- Skip the Online Microsoft Account: If you prefer using a local account and want to bypass the internet requirements, check the “Remove requirement for an online Microsoft account” option.
- Create a Local Account (Optional): If you wish to create a local account during the setup, check the “Create a local account with username” option and specify a name for the account.
Completion and Future Updates
- Finalize Rufus Configuration: Click “OK” to confirm your configuration.
- Completion: Once complete, Rufus will have created a bootable USB media that bypasses the requirements, enabling you to upgrade or install Windows 11 23H2 on unsupported hardware.
Important Update
The September 26, 2023 update will enable several features for Windows 11 23H2, including Copilot, Windows Backup, redesigned File Explorer, updated Settings, Dynamic Lighting, and more. It’s important to note that the system may still display version 22H2 on the About settings page after this update. Microsoft plans to roll out another update before the end of 2023 to finalize the feature update and switch the system from version 22H2 to 23H2. This will also entail updates to the Media Creation Tool, Installation Assistant, and ISO file. Additionally, devices running older operating system releases may be eligible for a direct update to version 23H2 via Windows Update. Stay tuned for these exciting developments in the world of Windows 11.