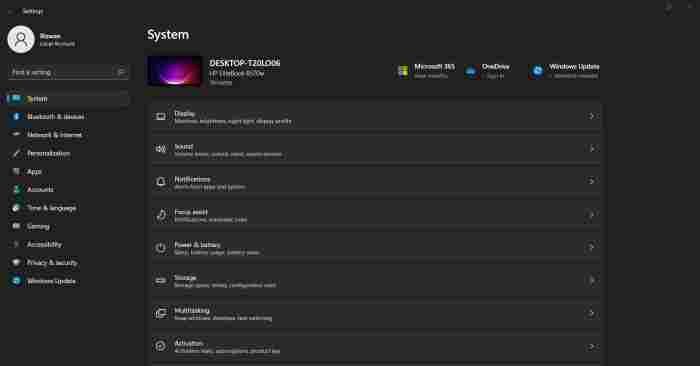
Windows 11 constantly evolves, and Microsoft is testing a new Quick Settings experience in the Windows 11 Insider Program Canary Channel. This feature allows you to scroll through all settings conveniently. In this article, I’ll guide you on how to enable it.
Step 1: Download ViveTool from Github
To enable this feature, you’ll need to download ViveTool, a small application that helps unlock hidden features in Windows.
- Visit the GitHub page for ViveTool and download the application.
Step 2: Extract ViveTool
Once you’ve downloaded ViveTool, extract its contents into a folder of your choice.
- Right-click on the downloaded archive and select “Extract all.”
- Choose the destination folder and click “Extract.” You may need to provide administrative privileges.
Step 3: Open Command Prompt as Administrator
Now, you’ll need to open Command Prompt with administrator privileges.
- Search for “CMD” in the Windows search bar.
- Right-click on “Command Prompt” in the search results.
- Select “Run as administrator.”
Step 4: Navigate to the Folder
In the Command Prompt window, navigate to the folder where you extracted ViveTool.
- Use the “cd” command followed by the path to your folder. For example:
bashCopy codecd "C:\Your-Folder-Path"
Step 5: Enable New Quick Settings
Now, you’ll enable the New Quick Settings feature using ViveTool.
- Copy and paste the following command into the Command Prompt:
bashCopy codevivetool /enable /id:39593188
Step 6: Restart Your Computer
To apply the changes, you’ll need to restart your computer.
- Close any open programs and save your work.
- Restart your computer.
Step 7: Enjoy New Quick Settings
After your computer restarts, you’ll notice the New Quick Settings scrollable view in the Windows 11 System Tray.
This feature offers a convenient way to access and manage your Windows 11 Build 25967 settings.
For a more detailed tutorial, you can watch a video guide on the YouTube channel mentioned in the article.
