
Whether you’re a digital artist, photographer, or just someone who appreciates the timeless power of Photoshop 7, you’re in the right place. While Photoshop 7 may not have the bells and whistles of the latest versions, its simplicity, speed, and lightweight design make it an enduring favorite for many users. And the best part? It’s still fully capable of delivering top-tier editing results.
However, installing Photoshop 7 on modern Windows systems can sometimes feel like navigating a maze. That’s why we’ve created this comprehensive step-by-step guide—to help you get Photoshop 7 up and running on your Windows computer with ease.
Let’s dive into the installation process and ensure your Photoshop experience is smooth and hassle-free.
Getting Ready: Preparation Before the Installation
Before we dive into the installation, it’s important to prepare your system to ensure everything goes smoothly. Here are the minimum system requirements for Photoshop 7:
- Operating System: Windows 98, ME, 2000, XP, or modern Windows versions like 7, 10, and 11 (though newer versions might require a little extra help).
- RAM: At least 64MB (but the more, the better!).
- Hard Disk Space: A minimum of 200MB of free space.
- CD-ROM Drive (if you’re using the physical installation disk).
If you’re running a modern version of Windows (10/11), don’t worry—Photoshop 7 can still work, though it may require the use of compatibility mode for a smoother installation.
Step 1: Download or Insert Installation Media
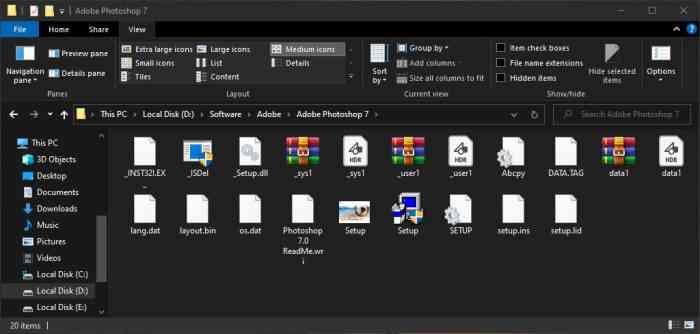
First, you’ll need the installation files. If you’re using an old-school physical CD, simply insert the disk into your computer’s CD-ROM drive. If you’re using a digital download, make sure you’ve obtained the Photoshop 7 installer from a trusted source. Whether you’re using a disk or a downloaded installer, the setup process is nearly the same.
Step 2: Run the Installer – Getting Started
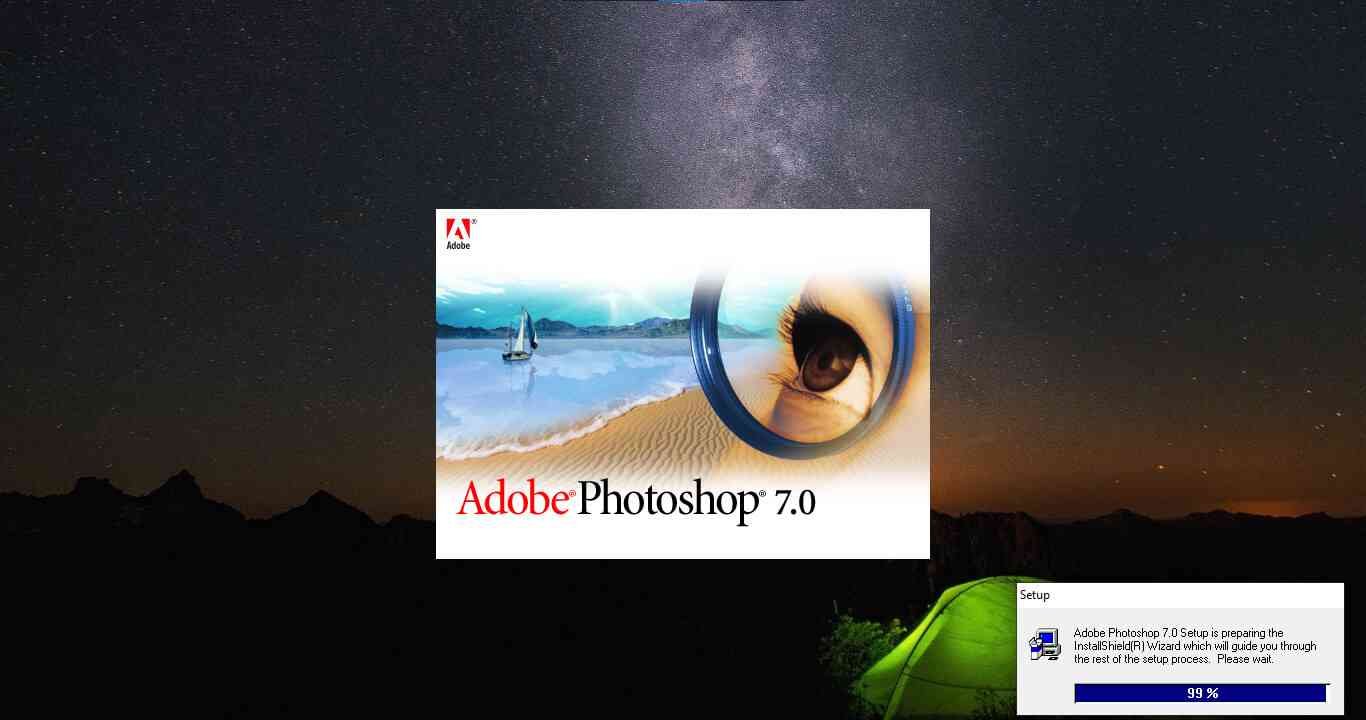
Now that your installation media is ready, let’s begin! Open the setup.exe file (either from your CD or the downloaded folder) and double-click to start the process.
For those using 64-bit versions of Windows, you’ll likely encounter a prompt asking you to run the program in Compatibility Mode. This is because Photoshop 7 was released long before 64-bit systems, so compatibility tweaks are essential for smooth performance.
Here’s how to enable Compatibility Mode:
- Right-click on the setup file (setup.exe).
- Select Properties.
- Go to the Compatibility tab.
- Check the box labeled “Run this program in compatibility mode for” and select Windows XP (Service Pack 3).
- Click Apply, then OK.
Step 3: Follow the Installation Wizard
Once you’ve got Compatibility Mode set up, you’ll see the Photoshop 7 installation wizard. This is where you’ll follow a few straightforward steps to complete the installation:
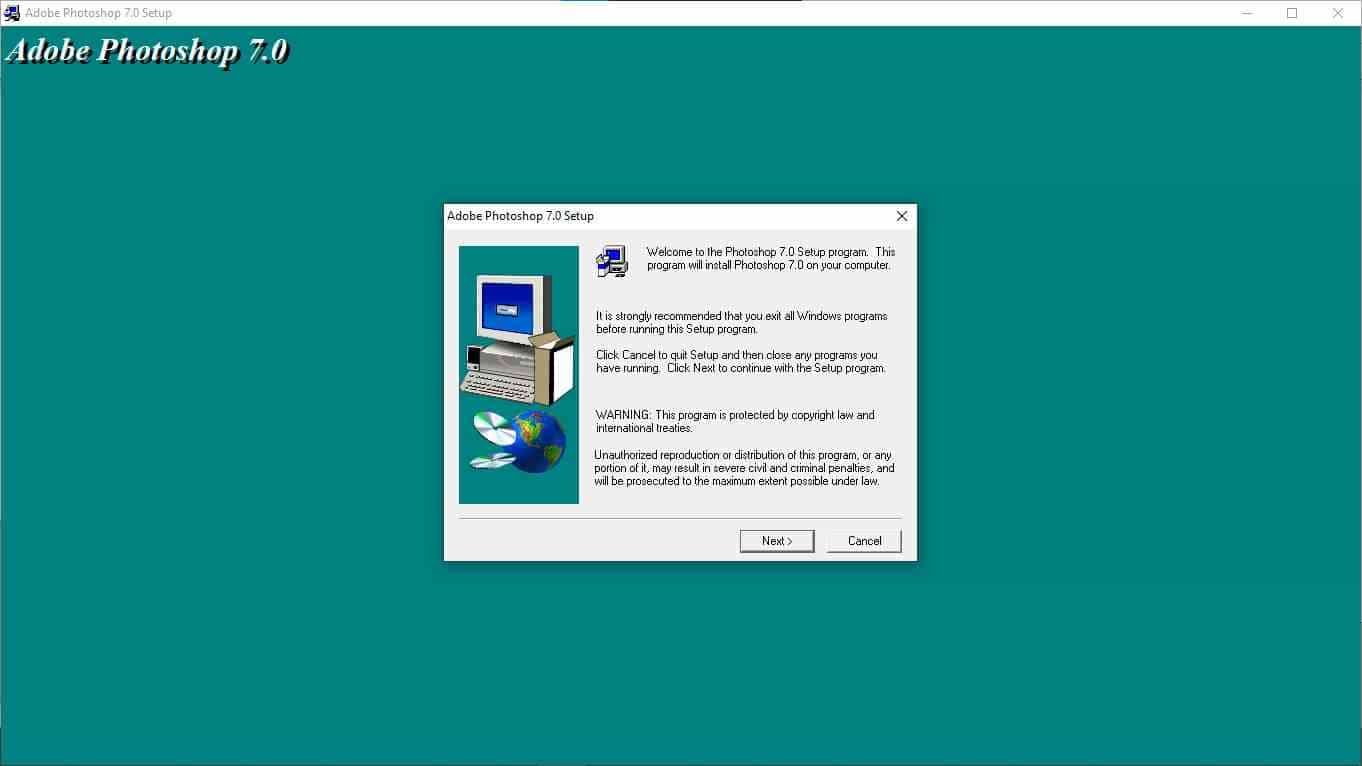
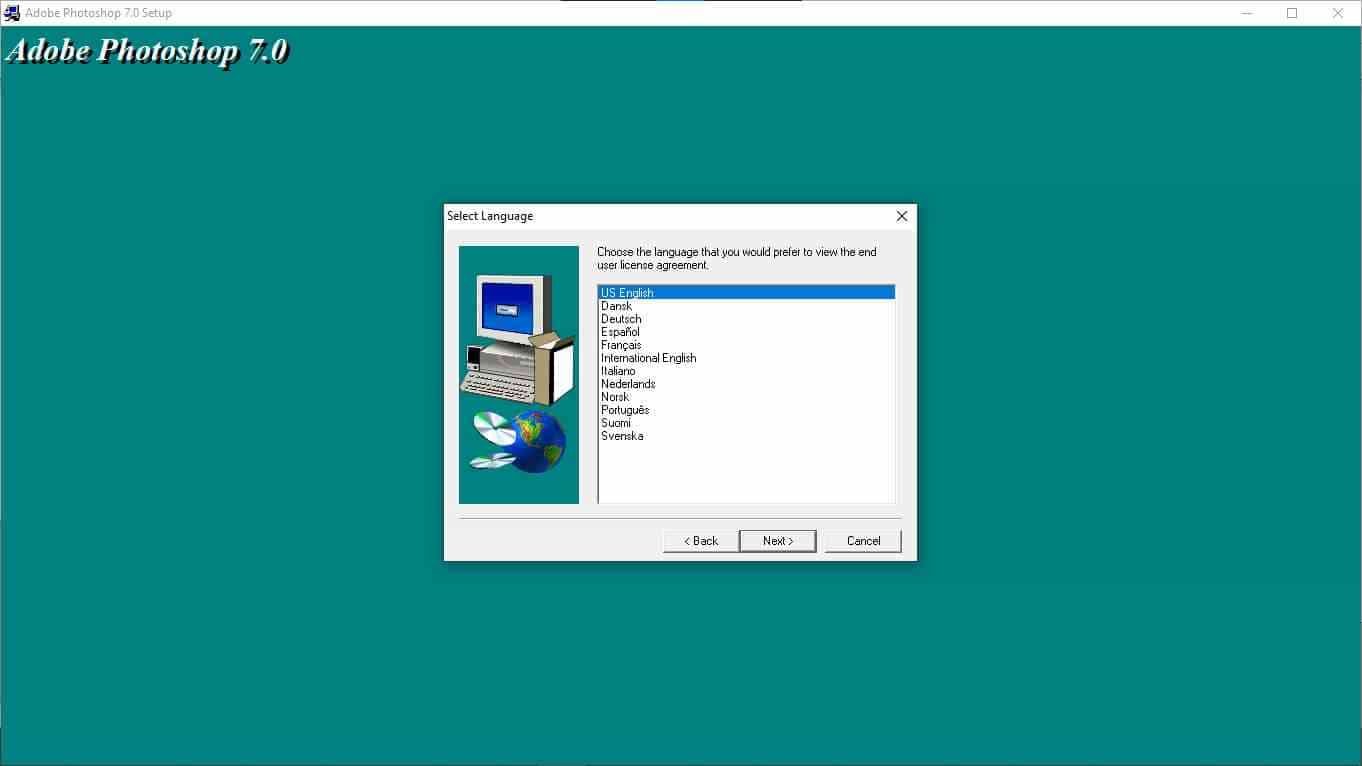
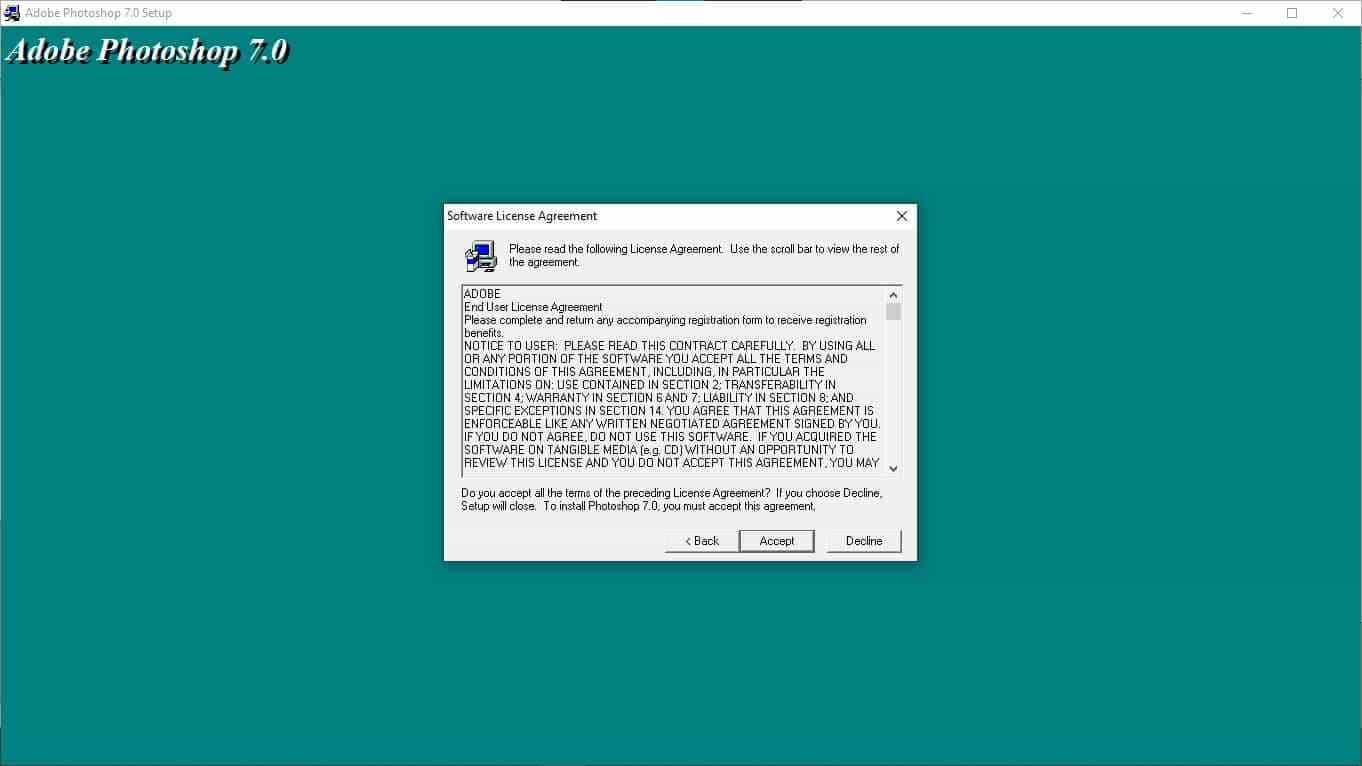

- Accept the License Agreement – Like any software, Photoshop 7 requires you to agree to the terms before proceeding.
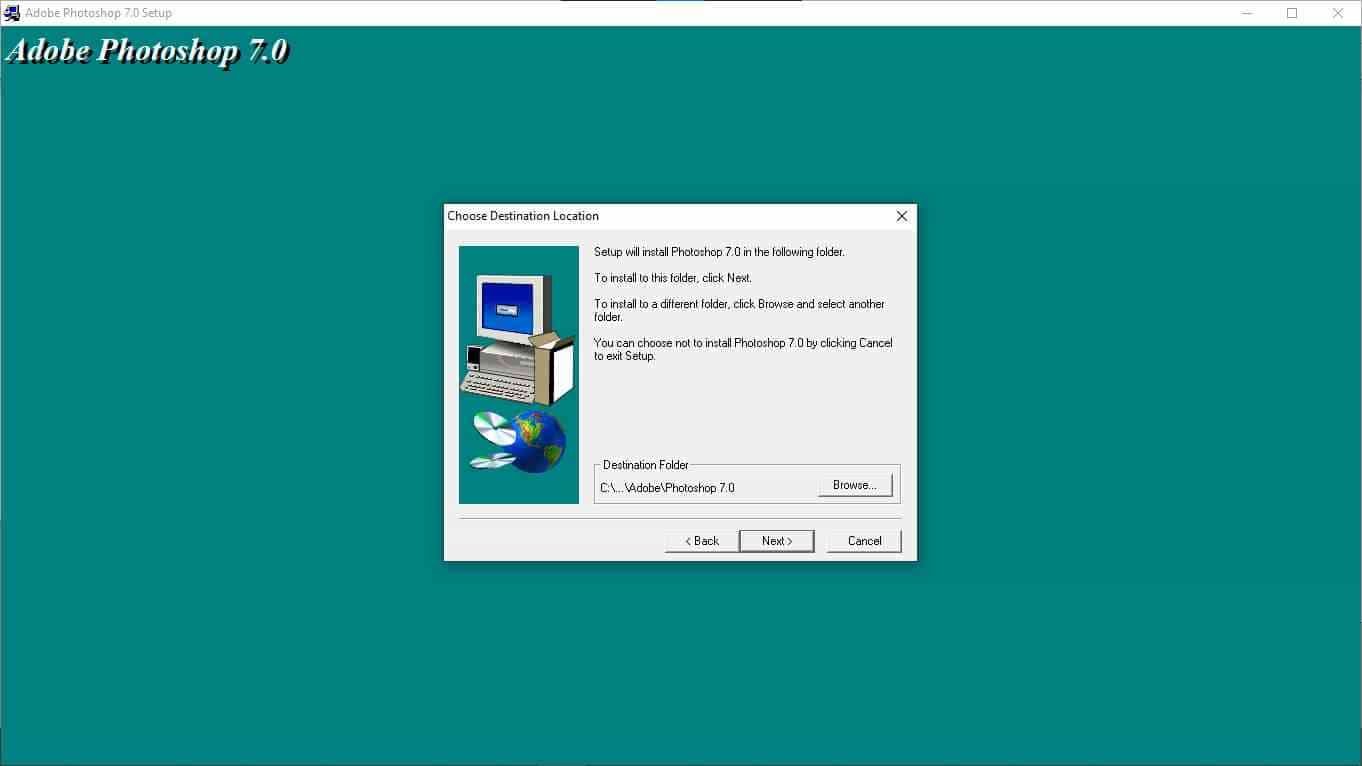
- Choose Installation Location – Photoshop 7 will suggest the default location on your system (which is perfectly fine). If you have a specific location where you’d like to store the program, feel free to select that.
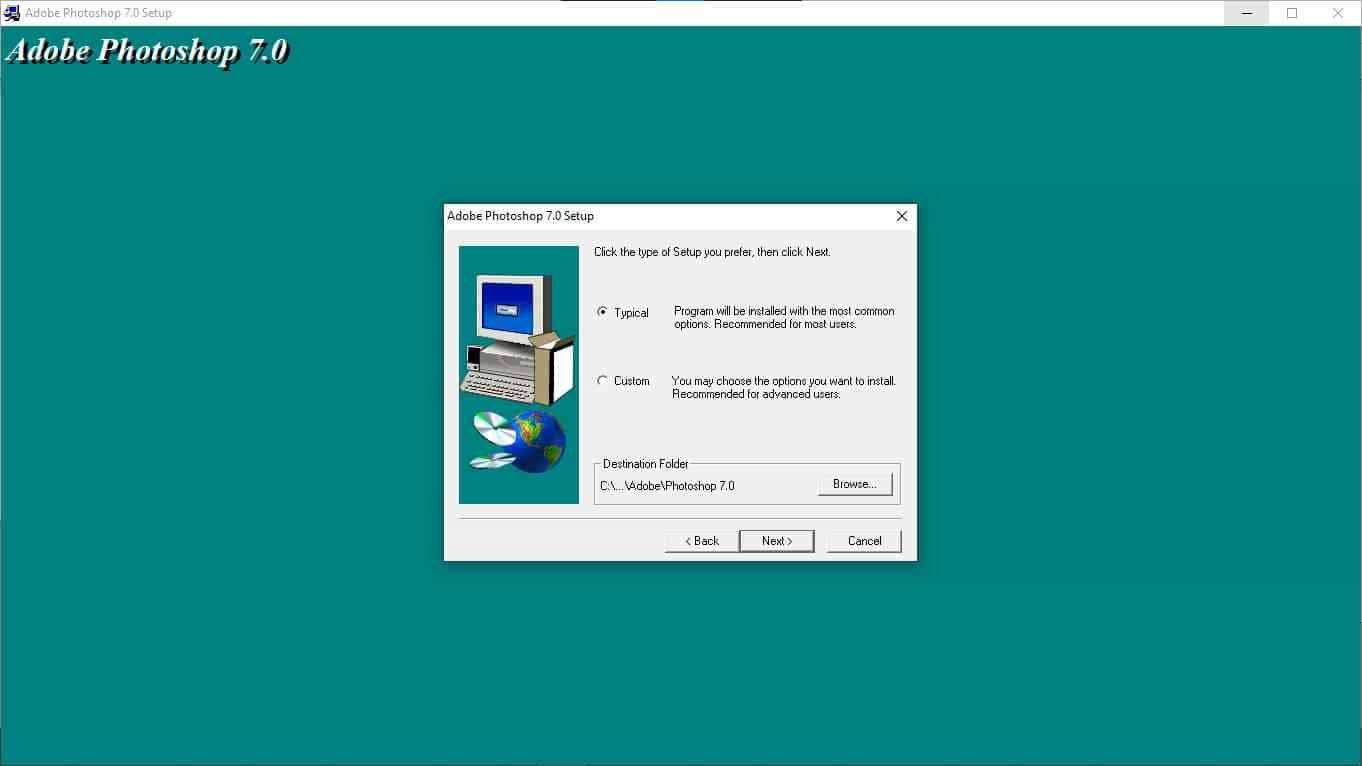
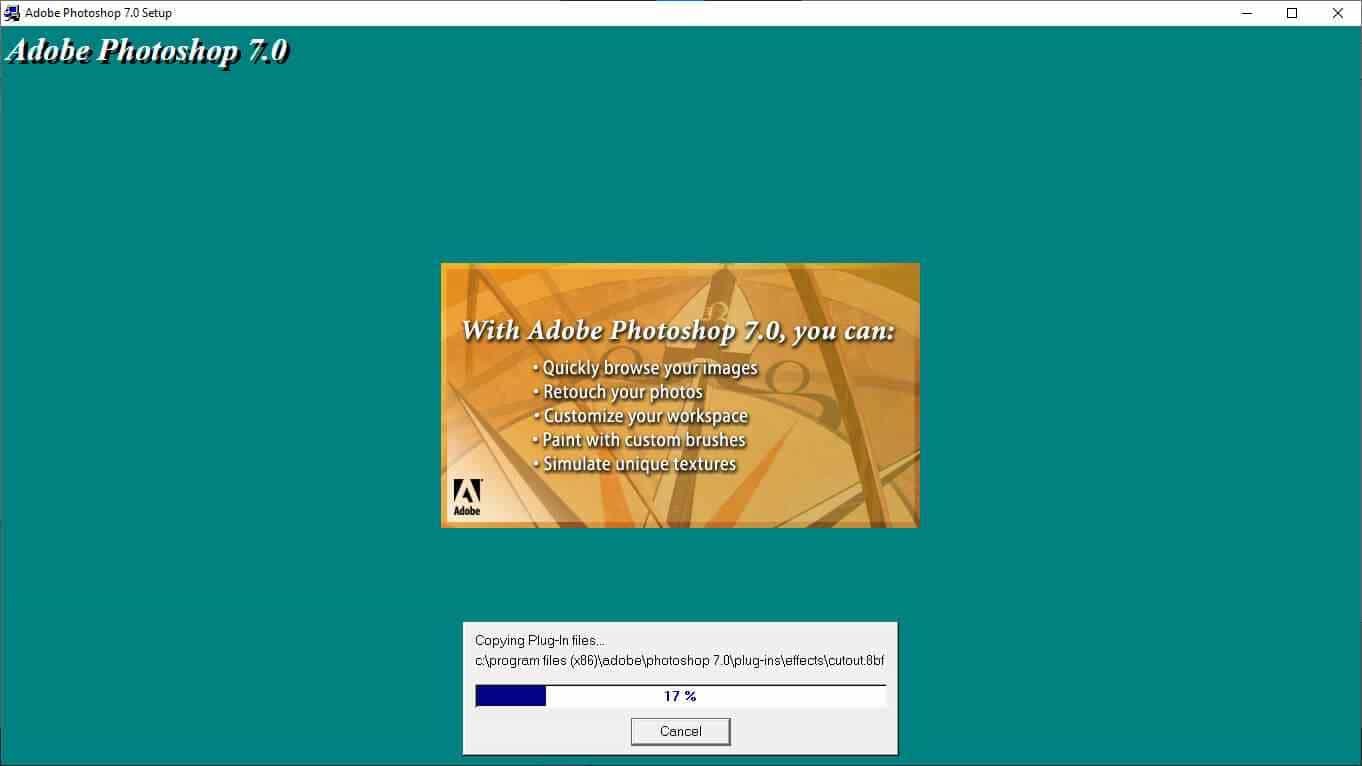
- Start the Installation – Click Install to begin the actual installation. The process will take a few minutes, depending on your system’s speed.
Step 4: Complete the Installation
After the installation finishes, you’ll be prompted with a Finish button. Clicking this will wrap up the installation. Now, Photoshop 7 is officially on your system!

At this point, you should see a shortcut on your desktop or be able to launch Photoshop 7 from your Start menu. Double-click to launch the program and begin your creative work.
Troubleshooting Common Issues – Help When You Need It
Sometimes, things don’t go as planned. If you run into any issues during installation or when trying to launch Photoshop 7, don’t panic! Here are a few common problems and solutions to get you back on track:
1. Compatibility Issues on Windows 10/11
If Photoshop 7 doesn’t seem to work right after installation, it could be due to the fact that Photoshop 7 wasn’t designed for modern systems. In this case, running Photoshop 7 in Compatibility Mode (as described in Step 2) is your best bet. For some issues, disabling User Account Control (UAC) might also help.
2. Installation Freezes or Crashes
If the installation freezes, it could be because your computer is low on resources like RAM or disk space. Try closing any unnecessary applications before running the setup. Also, if the installer itself seems corrupted, try downloading a fresh copy of the Photoshop 7 installer.
3. Missing or Corrupted Files
If you encounter missing file errors, it’s a sign that something went wrong during the installation. Running a disk check or reinstalling the program can often resolve these issues. If you’re using a physical CD, scratches or damage might be the cause, so you may need to try an alternative installer file.
4. Photoshop 7 Won’t Launch
If Photoshop 7 installs correctly but doesn’t launch, it’s likely a permissions issue. Try right-clicking the Photoshop 7 shortcut and selecting Run as Administrator. This can help bypass some restrictions on modern systems and let the program run smoothly.
Photoshop 7 on Modern Windows Systems – Compatibility Breakdown
While Photoshop 7 was originally designed for older versions of Windows (like XP), it can still run on modern systems with a few tweaks. Here’s how it performs across different Windows versions:
- Windows XP: Fully compatible with no issues.
- Windows 7 (32-bit): Runs smoothly with minimal tweaks. Compatibility Mode is sometimes required.
- Windows 7 (64-bit): May require Compatibility Mode for the installation and running the program.
- Windows 10/11 (32-bit and 64-bit): Compatible with Compatibility Mode. However, some advanced features may not work perfectly due to the age of the software.
If you’re working on a modern computer with Windows 10 or 11, expect to encounter some limitations in terms of features, but the software will still deliver a classic, reliable experience for tasks like basic photo editing and graphic design.
Why Keep Using Photoshop 7?
Despite its age, Photoshop 7 remains a beloved tool for many. Its lightweight nature means it’s fast, and it’s still capable of handling most common tasks, from photo manipulation to graphic design. If you value a straightforward, no-frills interface, Photoshop 7 is a great choice. And for those with limited system resources or older machines, it offers a responsive alternative to more resource-heavy versions.
Conclusion
Congratulations—you’ve successfully installed Adobe Photoshop 7 on your Windows system! With this guide, you’re ready to start creating stunning artwork, editing photos, or experimenting with new projects. While Photoshop 7 may not have all the cutting-edge features of modern versions, its powerful tools and intuitive design still make it a great choice for both beginners and seasoned pros.
If you run into any problems, don’t hesitate to refer back to the troubleshooting section or search for additional help online. Photoshop 7 is a workhorse that’s stood the test of time, and now you can enjoy it on your system for years to come.
Let’s Get Creative!
With Photoshop 7 now installed, the real fun begins! Experiment with editing photos, creating digital art, or designing graphics—all with a program that’s simple to use but powerful enough to handle almost any project. Happy editing!